Create a .NET InteropForm Library Project
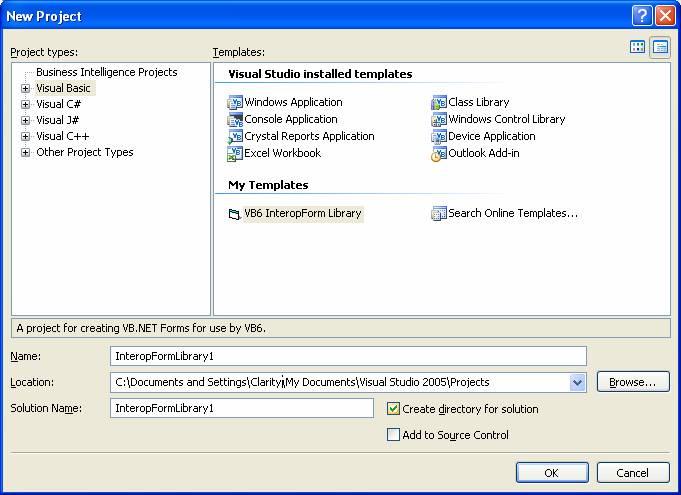
A project must be created to contain your new .NET functionality. The easiest way to configure an InteropForm project is to create the new Visual Basic .NET project by selecting File | New Project. Select "Visual Basic 6.0 InteropForm Library" under Visual Basic | My Templates. Rename the project as desired, e.g. “HelloWorld".
The solution will now contain your custom project and an InteropForm project. The custom project will be setup for interoperability and contain InteropForm1, which is decorated with the InteropForm attribute.
<InteropForm()> _
Public Class HelloWorldForm
Throughout the documentation, a form decorated with this attribute will be referred to as an InteropForm.
Once the form is added to the project, rename it and build out functionality as needed. To add additional Forms that need to be created from Visual Basic 6.0, right click on the custom project and select Add New Item and select InteropForm which can be found under My Templates.
Configuring an Existing Project
An existing project can be configured to be a Visual Basic 6.0 InteropForm Library by following these steps:
- In the Project Properties window, change Application Type to Class Library
- In the Project Properties window, check Register for COM Interop
- Select Project | Add New Item... and add a Visual Basic 6.0 InteropForm Library Info file
- Select Project | Show All Files and open the file My Project\AssemblyInfo.vb and delete the following line: